Oakley Footwear Care Checklist: Extend the Life of Your Sneakers and Boots
Oakley footwear is built for people who move—trail runners, gym regulars, hikers, and anyone who spends long days on their feet. The materials are tough, but they are not immune to mud, sweat, salt, and sunlight. Most premature wear I see on Oakley sneakers and boots comes down to two things: moisture left sitting in the wrong place, and dirt acting like sandpaper inside the shoe. Neither takes long to prevent.
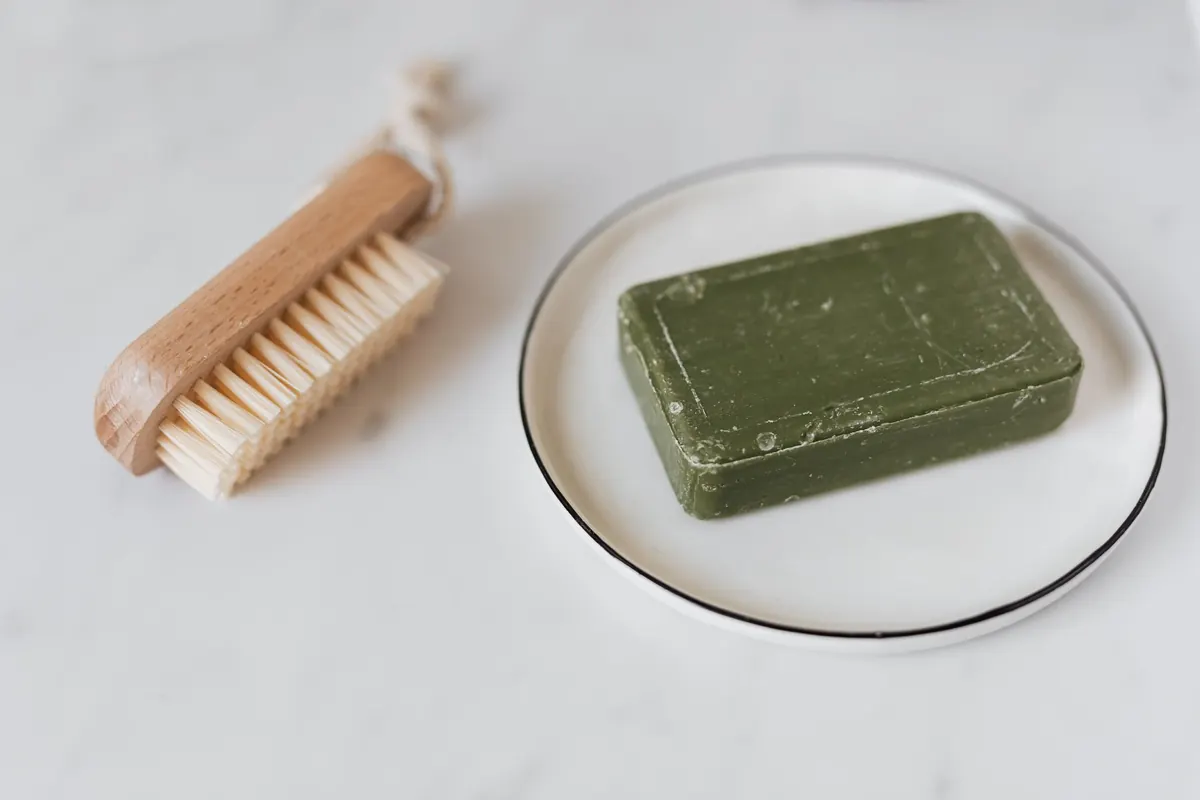
This checklist is the routine I use and recommend. It is not complicated, and it does not require a shelf of specialty products. A soft brush, mild soap, clean water, and a little patience will do most of the work.
Start With a Daily Reset
You do not need to deep clean your Oakleys every day. But a 60-second reset after each wear makes the weekly and monthly jobs far easier. Think of it as brushing your teeth for your shoes.
- Knock off loose dirt. Bang the soles together outside or use a stiff brush on the tread. Grit that stays in the lugs works its way into seams and breaks down glue.
- Wipe the uppers with a damp cloth. A microfiber towel or old T-shirt is fine. No soap needed unless you see stains.
- Pull the insoles out. Let them air separately. This is the single best way to prevent odor.
- Loosen the laces. You do not have to remove them, but loosening helps the shoe dry and keeps the tongue from creasing.
- Never leave them in a hot car. Heat speeds up the breakdown of foam and adhesive. A closed car in summer can ruin a pair in a few weeks.
Clean Sneakers by Material
Oakley sneakers use a mix of mesh, synthetic leather, and textile panels. Each needs a slightly different touch. When in doubt, start with the gentlest method.
Mesh and Knit Uppers
Use a soft-bristled brush or an old toothbrush. Mix a few drops of mild dish soap in a bowl of cool water. Dip the brush, shake off the excess, and scrub in small circles. Do not soak the shoe. Wipe away foam with a clean damp cloth. For stubborn spots, let the soapy water sit for a minute before scrubbing again.
Leather and Synthetic Overlays
Leather and synthetic panels are easier. Wipe with a damp cloth and a little soap if needed. Avoid scrubbing hard—you can dull the finish or lift the grain. If you use a leather conditioner, test it on a hidden area first. A little goes a long way.
Soles and Midoles
The midsole is where dirt hides. Use a stiffer brush and the same soapy water. For white midsoles, a paste of baking soda and water can lift scuffs. Apply with a cloth, let it sit for a few minutes, then rinse and wipe. Do not use bleach or harsh solvents. They can yellow the foam or weaken the bond.
Deep Clean Boots and Waterproof Models
Boots see more mud, salt, and standing water. They need a deeper clean, but less often. Aim for once a month during heavy use, or after any really messy outing.
- Let mud dry completely. Wet mud smears and pushes deeper into seams. Once dry, brush it off with a stiff brush.
- Wash with warm water and mild soap. Use a soft brush on the upper and a firmer brush on the sole. Rinse with a damp cloth—do not hose them down.
- Remove salt stains. Winter salt leaves white rings. Mix one part white vinegar with three parts water. Dab it on with a cloth, then wipe with clean water. Repeat if needed.
- Re-waterproof if needed. Cleaning strips some water repellency. After the boots are completely dry, apply a waterproofing spray or wax made for the material. Follow the product instructions and let it cure fully before wearing.
Dry Them the Right Way
Drying is where most people ruin good footwear. Heat is the enemy. It shrinks leather, warps foam, and melts the glue that holds everything together.
- Remove insoles and laces. They dry faster separately and let air reach the inside.
- Stuff with newspaper or a clean towel. This absorbs moisture and helps the shoe hold its shape. Change the paper when it feels damp.
- Air dry at room temperature. A well-ventilated spot away from direct sun is ideal. A fan pointed at the shoes speeds things up without risk.
- Never use a dryer, radiator, space heater, or hair dryer. The quick fix almost always causes cracks or separation.
- Give them 24 hours. If you wear the same pair every day, they never fully dry. That is when odor and breakdown start.
Store Them to Prevent Cracks and Odor
Where your Oakleys live matters as much as how you clean them. A cool, dry, dark place is best. Avoid garages that swing from damp to hot, and skip plastic bags—they trap moisture.
For sneakers, use cedar shoe trees or stuff them with clean paper. Cedar absorbs odor and helps the shoe keep its shape. For boots, stuff the shafts with newspaper or boot trees so they do not fold over. If you have room, rotate two pairs. Giving each pair a full day to dry doubles its useful life.
Keep them out of direct sunlight for long periods. UV light breaks down synthetic materials and fades colors. If you store them in a box, make sure the shoes are completely dry first. Even a little dampness in a closed box invites mildew.
Small Repairs and When to Retire
Not every problem means new shoes. Replace laces when they fray. Clean and condition leather before it cracks. If a seam starts to separate, a shoe repair shop can often fix it for less than a new pair. For odors, sprinkle baking soda inside, let it sit overnight, then shake it out. Do not ignore a worn-out sole. Once the tread is smooth or the midsole feels collapsed, the shoe is done. Wearing them past that point can affect your stride and comfort.
Your Oakley Footwear Care Checklist
Here is the short version. After every wear: knock off dirt, wipe uppers, pull insoles, air out. Weekly: check for stains, clean laces, stuff with paper. Monthly: deep clean sneakers or boots, re-waterproof boots, inspect soles. Seasonally: wash storage area, replace worn laces, rotate pairs.
None of this takes much time. A few consistent habits do more than any single deep clean. Your Oakleys are built to handle hard use. Treat them well between adventures, and they will stay comfortable, supportive, and ready for the next one.

You Might Also Like
A rainy trail test of Oakley accessories: which pouches, straps, and quick-dry lens cloths keep eyewear clear and secure when every mile is wet.
Learn how to take chest, waist, sleeve, and inseam measurements, plus how Oakley jackets, shirts, and pants differ in fit, so you order the right size the first time.