Oakley Apparel Layering Checklist for Cold-Weather Riding
Cold-weather riding rewards a plan more than a purchase. The rider who finishes a January loop comfortable usually isn't wearing one heroic jacket; they're wearing three or four thin pieces, each doing one small job well. Add them up and you get a system you can adjust in ten seconds at a red light.
What follows is the stack to run through before every cold ride, from the skin outward, plus the details that decide whether the last hour feels fine or miserable.
Base Layer: The One You Should Forget About
Your base layer has two jobs: pull sweat off your skin and stay out of the way. Do both and you'll never think about it. Do neither and nothing you put over it will rescue the ride.
Choose merino or a synthetic — polyester, polypropylene, nylon blends. Cotton holds water against your body, and once it's damp it chills you hard on the first descent. Fit should be snug enough that the fabric lies flat with no folds, but loose enough that your shoulders move freely on the drops.
Weight matters more than brand. Lightweight for hard efforts and mild cold; midweight for steady endurance pace in real cold. Look for flatlock seams, a slightly longer tail, and a zip collar you can open without taking anything off. Keep a spare base layer in the car or bag for the drive home. It's a small habit that makes a big difference.
Mid Layer: Where the Warmth Actually Comes From
Mid layers trap air. That's the whole trick. Thin fleece, grid fleece, or a light synthetic-filled piece all work; the choice depends on how cold it is and how wet the day will get.
Two thin mid layers usually beat one thick one, because you can shed half the insulation when the sun appears or the road tilts up. If you run hot, a wind-resistant vest over a light fleece is often enough for a morning that starts near 45°F and warms by noon.
Watch where the mid layer bunches. Anything bulky under the arms traps sweat there, and a wet armpit eventually chills your entire torso once the pace drops or you stop for a mechanical.
The Outer Layer: Weather Protection, Not Warmth
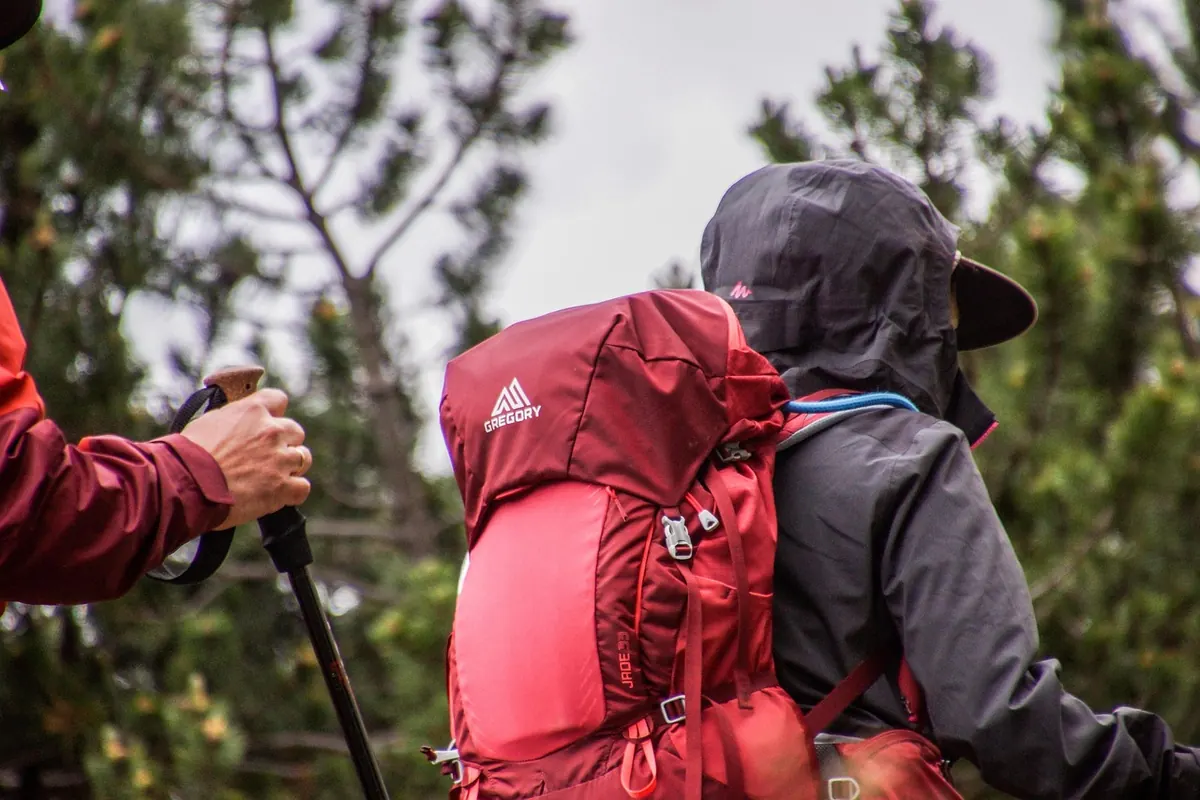
The outer layer is your defense against wind and rain, not your main heat source. Treat it that way and you'll dress better immediately.
- Dry cold, hard effort: wind vest or a lightweight softshell.
- Dry cold, easy pace: softshell with a brushed inner face.
- Rain or sleet: waterproof-breathable shell with taped seams and pit zips.
- Long, unpredictable day: a packable shell carried rather than worn, deployed when the sky turns.
On the bike, breathability matters as much as waterproofing. A shell that keeps rain out but traps every ounce of steam will leave you soaked from the inside, which is worse than getting caught in a shower. Vents you can open with gloves on, a two-way zipper, and a collar that doesn't choke you are worth more than a fancy fabric name.
Extremities and the Small Details
Hands
Start with a windproof glove and add a thin liner for the coldest first hour. Overlap your glove cuffs over the sleeve — not the other way around — so water runs off instead of into your wrists. If your fingers go numb even in mild cold, a looser fit often helps more than extra insulation.
Head and neck
A thin skullcap or ear band that fits under the helmet handles most conditions. A neck gaiter does triple duty: neck, chin, and face on descents. If you wear glasses, leave a gap so your breath escapes down rather than up across the lenses.
Feet
Wool socks, overshoes or shoe covers, and room in the toe box. Cramming a thick sock into a snug shoe reduces circulation and makes your feet colder, not warmer. Keep shoes loose enough to wiggle your toes and tighten the cleat area, not the forefoot.
The Layering Checklist
- Base layer: snug wool or synthetic, no cotton.
- A second base layer or light mid for below-freezing starts.
- Mid layer: fleece or light synthetic insulation that layers without bulk under the arms.
- Outer layer matched to the forecast, with vents you can reach in gloves.
- A vest — the single most useful piece for days that change.
- Cap or headband thin enough for the helmet.
- Neck gaiter or high collar you can adjust one-handed.
- Windproof gloves, plus liners for the coldest starts.
- Wool socks, overshoes, and space in the toe box.
- Spares: dry base layer and gloves waiting in the car or bag.
Three Mistakes That Undo Good Layering
- Dressing for the first five minutes. You should feel slightly cool standing in the driveway. You'll be warm within ten minutes of riding.
- Ignoring the descents. A long drop after a hard climb is where sweat becomes dangerous. Carry a shell or vest, even if you start without it.
- Never adjusting. A zip opened on a climb takes two seconds and prevents twenty minutes of shivering later. Use the layers you brought.
A Note Before You Clip In
Ride within the temperature and conditions you can handle, and take a shorter, warmer route when it's genuinely cold and wet rather than toughing out a long one. If you have a circulatory or heart condition, or you're unsure how your body responds to prolonged cold, ask a doctor what's sensible for you.
Good layering is quiet. Nobody finishes a winter ride talking about their base layer. They talk about how good the coffee tasted and how the roads were clear. Get dressed deliberately, adjust as you go, and the cold becomes one more thing you're prepared for instead of one more thing you fight.
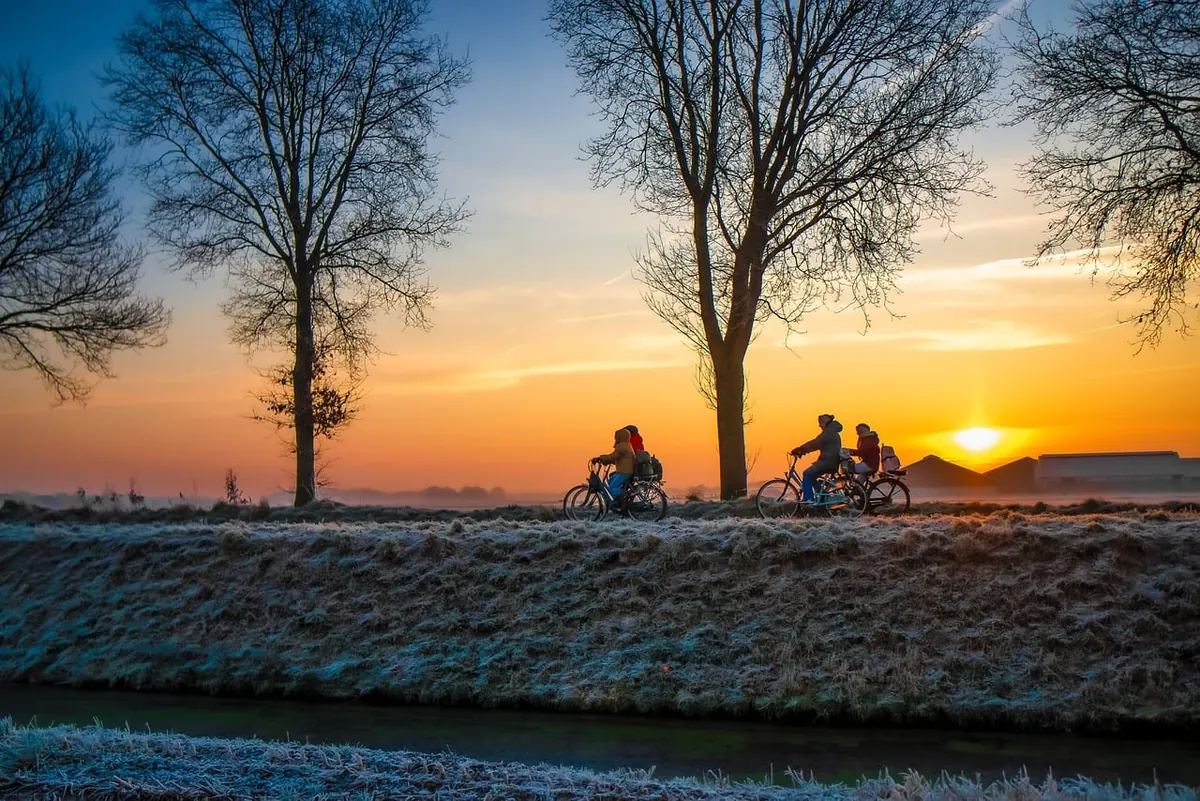
Photo: Zachtleven / Pixabay
You Might Also Like
A rainy trail test of Oakley accessories: which pouches, straps, and quick-dry lens cloths keep eyewear clear and secure when every mile is wet.
Keep your Oakley sneakers and boots in top shape with a simple routine for cleaning, drying, and storing them correctly. Extend their life and avoid premature wear.